Status Pages
Create dedicated web pages to communicate the status of your services to your users.
What are status pages?
A status page is a place for your customers and users to check your current status. It helps you communicate new incidents and planned maintenances to them.
By communicating early, you build trust and avoid customer frustration. This also helps limit duplicate support requests when there's an issue with your service.
Creating a page
In order to create a status page, you need to have the admin role or higher in your workspace.
Head over to the admin panel and navigate to the Status Pages section using the tabs on the navigation bar, from there you can click Create Page to start the process of setting up your status page.

General
The General tab is where you can set the basic information about your status page. This includes the name, description, whether your page is enabled, and the domain your page will be hosted on.
Name
The name is primarily used to easily identify different status pages in the admin panel, but it will also be used in the SEO and in the header if you don't upload a logo. This is usually the name of your service or company.
Description
The description is a short contextual piece of text that is used to provide more information about this status page. The description is primarily used in SEO and is important for user engagement.
Enabled
This option allows you to enable or disable the status page. If you disable the status page, users will see this message instead.

Domain
This field has two options:
- Root Domain: Enable this option to host your status page on the same domain as your Miru instance (e.g., if your Miru instance is hosted at
status.example.com, your status page will also be accessible understatus.example.com). - Domain: If root domain is disabled, you can specify a custom domain for your status page. Make sure to set up the DNS records for your custom domain to point to your Miru instance.
Monitors
The Monitors tab is where you can select and change the order of the monitors that will be displayed on your status page.
Select the monitors you want to display under the Monitors field and you'll see a list of the monitors that have been selected under it. You can drag and drop them using the handles on the right-hand side to change the order in which they will be displayed on the status page.

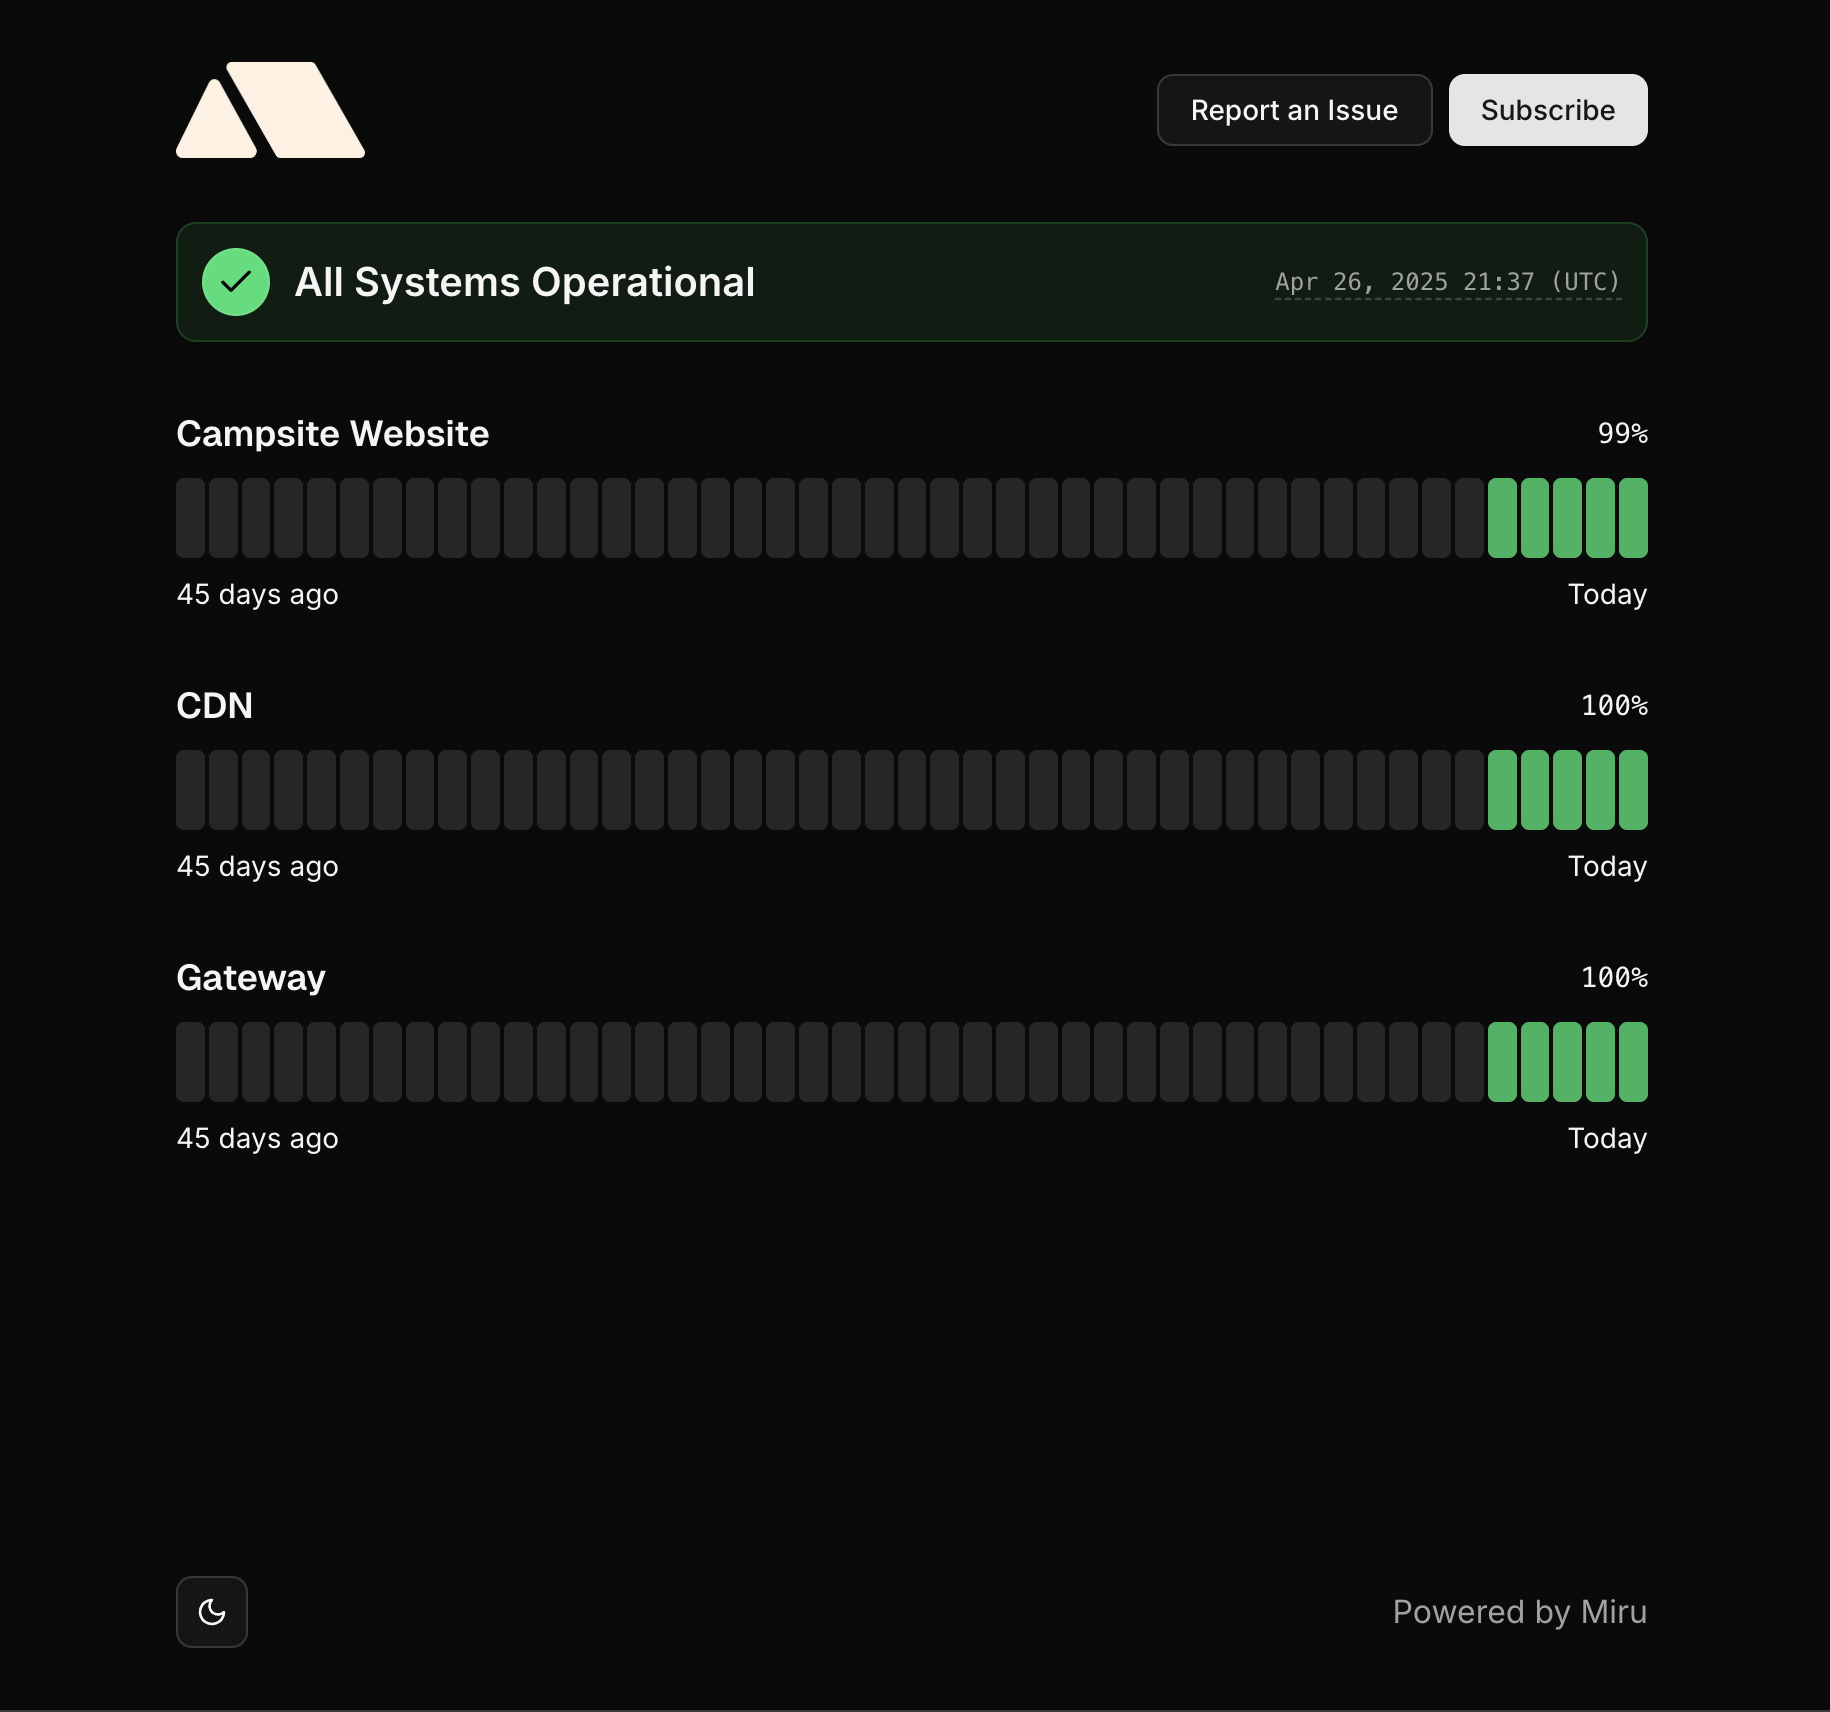
Status pages displays the last 45 days of activity for each monitor, including their:
- Status: The status of the monitor.
- Total Requests: The number of pings the monitor made during the day.
- Failed Requests: The number of failed pings the monitor made during the day.
- Incidents: Any incidents that occurred during the day.
Branding
The Branding tab is where you can customize the look and feel of your status page. This includes the logo, colors, and design of your status page.
Design
The design of your status page can be customized using the Design field. You can choose between three options:


We plan to add more designs in the future, and might even explore a custom design option for your status pages. Stay tuned!
Colors
As of now, you can only set your brand color; however, we plan to add color customisation for status indicators and other elements in the future.

Force theme
When you use a design that utilizes your brand color in the header, it's important to ensure that the text is readable. By default, Miru will handle this for you and will try to determine if the brand color is light or dark. It will set the theme of the components in the header accordingly.
However, it might not always be accurate. For example, if your brand color is a medium shade that is neither distinctly light nor dark, the automatic determination might result in poor contrast between the text and background. In such cases, you can override this behavior using this field to ensure readability.

- Auto: This is the default option. This will tell Miru to automatically determine the theme based on the brand color.
- Dark: Selecting Dark will tell Miru that the brand color is dark, and it should use light theme styles for the header.
- Light: Selecting Light will tell Miru that the brand color is light, and it should use dark theme styles for the header instead.
Logo
The logo is the image that will be displayed in the top left corner of your status page. This is usually your company logo or a custom image that represents your brand.

There are two fields for the logo, one for light mode (labeled "Logo") and one for dark mode (labeled "Logo (dark mode)").
If you don't upload a logo, Miru will use the name you defined in the General tab as the logo instead. The same applies if a logo is not uploaded for either light or dark mode.
Favicon
The favicon is the small icon that appears in the browser tab when your status page is open. This is usually your company logo or a custom image that represents your brand.

You can upload a custom favicon for your status page. If you don't upload a favicon, it will default to the Miru logo.
What's next?
Do you have multiple projects or clients that need their own pages? Check out how you can create multiple status pages and link a custom domain to make them look even more professional.